Purpose
Get familiar with the Arduino Uno and IDE
Take initial steps in building and controlling our robot
Lab Materials
Arduino Uno
LED
3306F-103 Potentiometer
330Ω Resistors
Blinking An Internal LED
The first mini project is to blink the Internal LED on the Arduino board every second. A built-in LED is already connected to the Arduino board and it is wired to Pin 13. The following code, one of the Arduino IDE example programs, sets up Pin 13 as digital output in the setup() function, and it then repeatedly turns Pin 13 HIGH, waits for one second, turns Pin 13 LOW, waits for one second, creating the blinking effect.
// the setup function runs once when you press reset or power the board
void setup() {
  // initialize digital pin 13, the onboard LED, as an output.
  pinMode(13, OUTPUT);
}

// the loop function runs over and over again forever
void loop() {
  digitalWrite(13, HIGH);   // turn the LED on (HIGH is the voltage level)
  delay(1000);              // wait for a second
  digitalWrite(13, LOW);    // turn the LED off by making the voltage LOW
  delay(1000);              // wait for a second
}
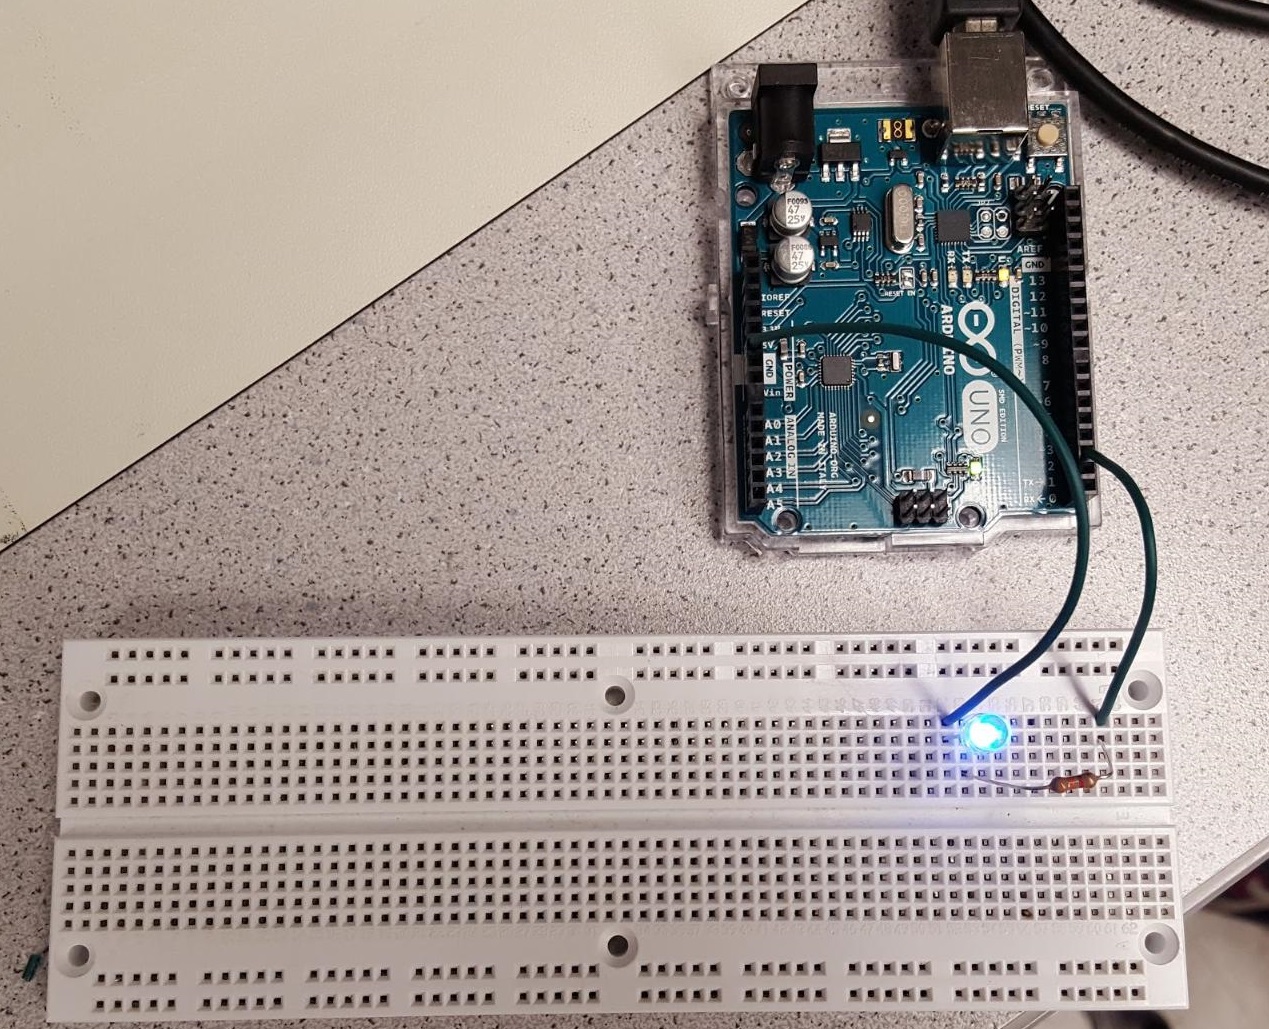
Blinking An External LED
The second mini project is to blink an external LED, which is wired to the digital output Pin 3. There is 330Ω resistor connected in series with the LED to limit current flow, otherwises, the LED would burn out. The code explanation is the same as the previous mini project except pin 3 is used instead of pin 13.
int ledPin;

void setup() {
  ledPin = 3;
  pinMode(ledPin, OUTPUT);
}

void loop() {
  digitalWrite(ledPin, HIGH); // turn the LED on
  delay(1000);        // wait for a second
  digitalWrite(ledPin, LOW);  // turn the LED off
  delay(1000);        // wait for a second
}